
How to Install an eSIM on Samsung Galaxy — Step by Step
Table of Contents
What is an eSIM?
Benefits of eSIM for Samsung Users
Supported Samsung Galaxy Devices
Requirements Before Installation
Step-by-Step Guide: Install eSIM on Samsung
Troubleshooting Common Issues
Pro Tips for a Smooth Experience
Common Mistakes to Avoid
Conclusion
What is an eSIM?
An eSIM (embedded SIM) is a digital SIM card built directly into your Samsung smartphone’s hardware. It functions exactly like a traditional physical SIM card, but entirely through software.
Learning how to use eSIM on Samsung devices frees you from tiny plastic cards and paperclips. You simply download a digital profile to connect to a mobile network in minutes.
Benefits of eSIM for Samsung Users
Using an eSIM unlocks incredible flexibility, especially if you love to travel. A proper Samsung eSIM setup allows you to manage multiple plans effortlessly.
Dual SIM Capability: Keep your physical SIM for your home number and use an eSIM for travel data.
Instant Delivery: Purchase online and get your QR code delivered to your email instantly.
Cost-Effective: Avoid expensive carrier roaming fees by paying local rates abroad.
Enhanced Security: There is no physical card to lose, damage, or have stolen.
Supported Samsung Galaxy Devices
Before you begin, verify that your device is eSIM compatible. Samsung has supported this technology on its flagship devices for several years.
Popular supported models include:
Galaxy S Series: S20, S21, S22, S23, S24, and newer models.
Galaxy Z Series: Z Fold and Z Flip (all generations from the original Fold and Z Flip upwards).
Galaxy Note Series: Note 20 and Note 20 Ultra.
Requirements Before Installation
To successfully install eSIM on Samsung Galaxy phones, you must meet a few basic requirements.
An Unlocked Device: Your Samsung phone cannot be tied or locked to a specific mobile carrier.
Stable Internet Connection: You must be connected to Wi-Fi to download the digital eSIM profile.
Your QR Code or Activation Details: Have the QR code provided by your eSIM carrier ready on another screen or printed out.
Important Note: We highly recommend you buy before you travel and install the eSIM while you still have reliable home Wi-Fi.
Step-by-Step Guide: Install eSIM on Samsung
This Samsung Galaxy eSIM guide covers the standard process. Depending on your current One UI software version, the exact names of the menus might vary slightly, but the general path remains the same.
1. Navigating Your Settings
First, you need to access the SIM management area on your device.
Open the Settings app on your Samsung Galaxy.
Tap on Connections.
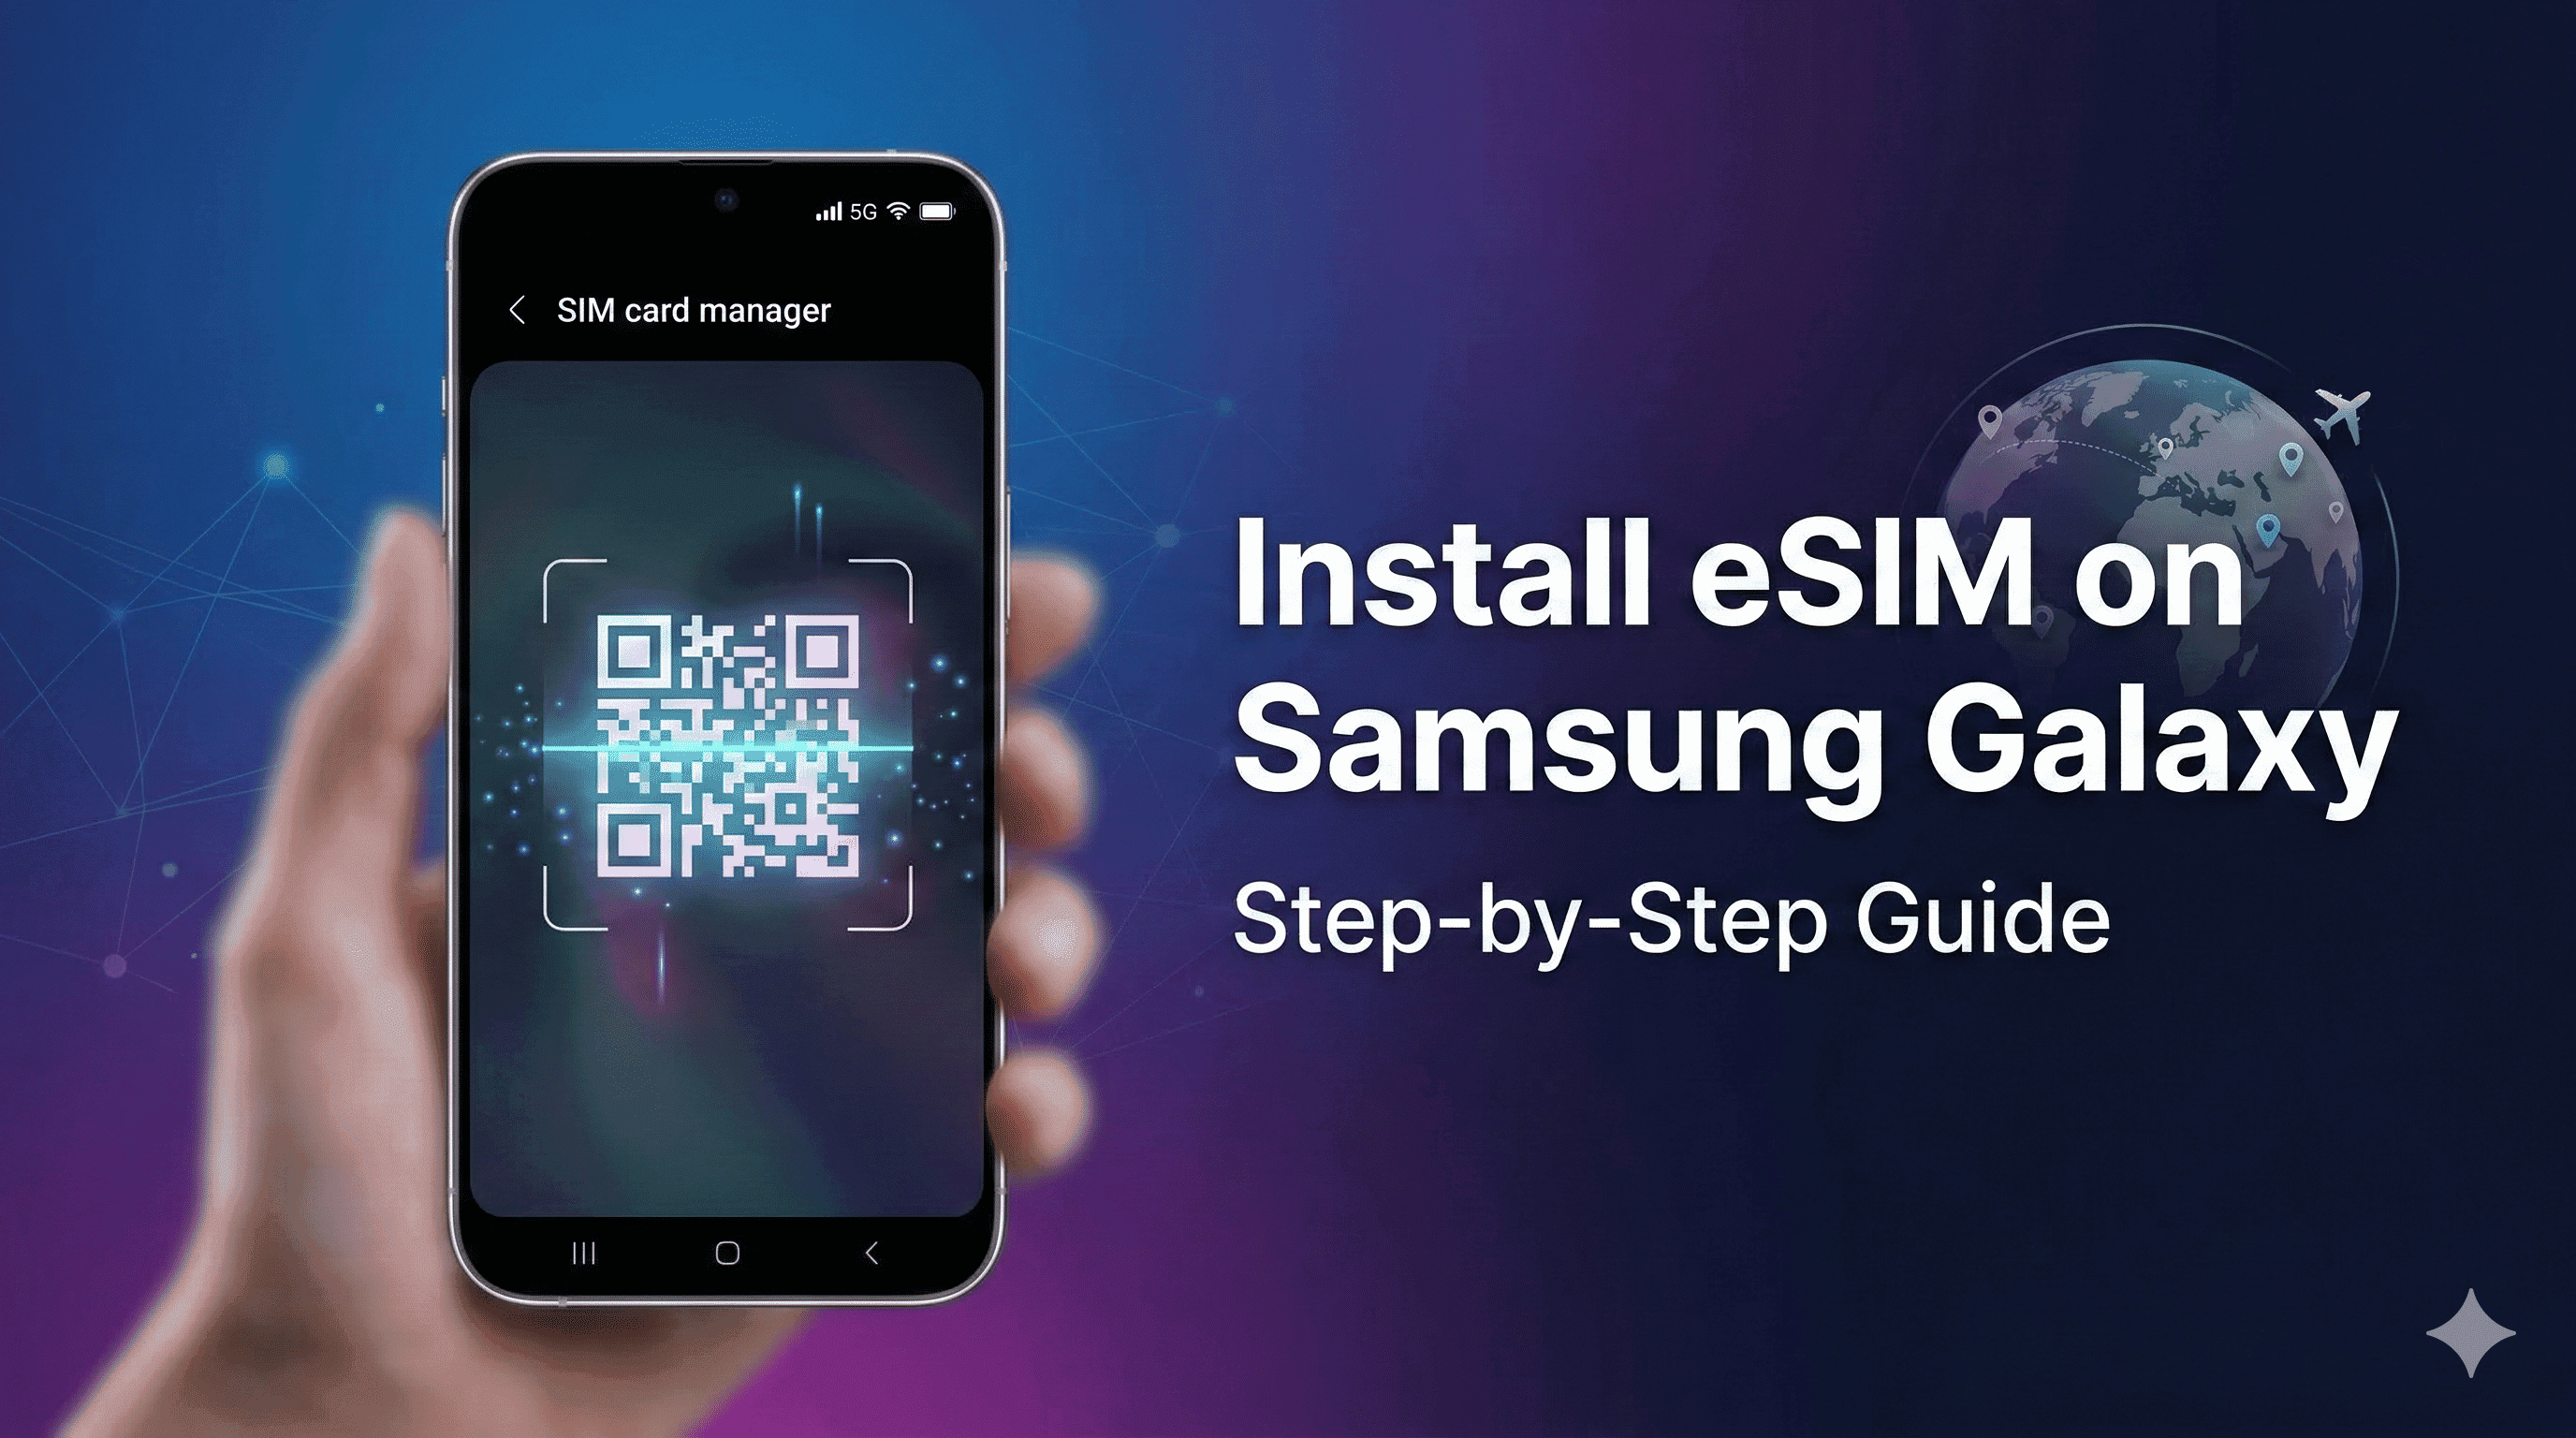
Scroll down and select SIM Manager (or SIM card manager on older One UI versions).
2. Adding the eSIM Profile
Next, you will tell your phone to look for the new digital plan.
Under the eSIM section, tap Add eSIM (or Add mobile plan).
Your phone will prompt you to connect to a mobile network. Choose Scan QR code from service provider.
3. Scanning and Activating
Now it is time to officially activate eSIM Samsung style!
Use your phone’s camera to scan the QR code provided in your purchase email.
If you cannot scan it, tap Enter activation code to type in the details manually.
Tap Add or Confirm when prompted to download the plan.
Once downloaded, ensure the new eSIM is toggled ON in your SIM Manager.
[Internal Link Suggestion: Link to a blog post titled "Top 10 Travel Destinations to Test Your New eSIM"]
Troubleshooting Common Issues
Even the easiest tech can run into minor hiccups. Here is how to fix the most common problems during setup.
eSIM Not Detected
If you scanned the code but the plan isn't showing up, restart your phone. Go back to SIM Manager and verify that the toggle switch next to your new eSIM profile is turned on.
QR Code Not Working
Ensure the screen displaying the QR code is bright enough. If your Samsung camera still won't read it, use the manual activation method by pasting the SM-DP+ Address and Activation Code provided by your carrier.
No Network After Activation
If your profile is active but you have no internet, check your data settings. Go to Settings > Connections > Mobile networks and ensure Data Roaming is turned on for your eSIM profile.
SIM Manager Not Visible
If you cannot find the SIM Manager in your Connections menu, your phone either does not support eSIM or is strictly locked by your current mobile carrier.
Pro Tips for a Smooth Experience
Rename Your SIM: In the SIM Manager, tap on your new eSIM and rename it to something recognizable, like "Travel" or "CloudOn Data," to avoid confusion.
Set Primary Data Line: Make sure your new eSIM is selected as the primary source for "Mobile Data" before you turn off your Wi-Fi.
Disable Auto-Data Switching: Turn off the "Auto data switching" feature in your SIM Manager to prevent accidental roaming charges on your home SIM.
Ready to experience seamless global connectivity? Get your eSIM from CloudOn today and stay connected effortlessly wherever you go.
Common Mistakes to Avoid
Deleting the eSIM Profile: Never delete your eSIM if you experience connection issues. Deleting it usually permanently voids it, requiring you to purchase a new one. Contact support first!
Installing Without Wi-Fi: Trying to scan the QR code using a weak airport cellular connection often leads to a failed installation. Always use a secure Wi-Fi connection.
Waiting Until You Arrive: Attempting to set this up while navigating a busy foreign airport is stressful. Install it at home the day before your flight.
Conclusion
Taking a few minutes to install an eSIM on Samsung Galaxy devices is the best way to upgrade your travel experience. You get to skip the kiosk lines, avoid ridiculous roaming fees, and keep your primary number active.
Follow this guide, set everything up before you leave, and enjoy instant, stress-free internet the moment you land!
Ready to get an eSIM?
Browse plans for 200+ countries. Purchase in minutes, install in seconds.